Showing posts with label process. Show all posts
Thursday, April 7, 2016
Something new...
Things have been pretty busy lately, like, the perfect kind of busy. You know, the absolute fun things. The best part of my job is when an idea suddenly takes shape in my mind and I sit on the bench and it just FLOWS.
I'm working on a new collection! I was supposed to launch it last month but you know how these things go and I decided to just invest the time I need on it and let the work flow organically. But having said that, I do plan to launch at the beginning on May. Exciting times.
In other exciting developments, I received the awesome news that I'll be part of Puces POP spring edition happening at the beginning of May!! So, as you can imagine production has begun and the days at the bench are pretty interesting, with all the making of new things and old favourites.
Anyway, what do you think of the little sneak peek I just gave you with that GIF? You like what you see?! Wait until you see it finished, it's lovely!
I still owe you the last instalment of the IG for creatives series, don't think I've forgotten is just that time on the computer right now is limited!
Thanks for reading this.
Iveth
Labels:
Jewellery,
jewelry,
me,
my bench,
my jewelry,
new collection,
process,
puces pop,
sneak peek,
The Angry Weather
Tuesday, February 4, 2014
Making of: The Refuge Necklace
Last December we were so lucky to receive two of our best friends from Mexico who came to spend the holidays with us. Alty and Riki -my friends- are some of the most amazing, creative people I know and while they were here, Riki offered to make a little video of me while I was busy at work, making one of my most beloved pieces of jewelry: The Refuge Necklace.
I'm very happy he did this for me, as it's the first time I have an actual video of my process, of me working on the jewelry and such a lovely video it is! I hope you enjoy visiting my studio and see how things are in The Angry Weather HQ's for a day :)
Did you like it? I'd love to know if you have any questions regarding the process of making the Refuge necklace! And if you want to see more of Riki's work, come visit his Vimeo channel here!
Thank you so much Riki! Muchas gracias!
Iveth
Labels:
atelier,
bench,
Etsy,
handmade,
home studio,
jeweler,
jewelry,
making of,
me,
my jewelry,
process,
refuge necklace,
ricardo meade,
silver,
silversmith,
studio,
The Angry Weather,
video,
vimeo,
work
Tuesday, December 11, 2012
At the studio: Vintage rings.
The vintage rings I sometimes sell on my shop or at craft fairs are always such a hit and people just adores them. I'm always receiving wonderful feedback from the people who buys them, telling me they feel like wearing something really unique, special and beautiful. Well, let me tell you, they are so unique and special and beautiful! That's why I want to show you today a bit about the process of selecting and preparing them to be worn, most of them, for the first time.
First of all, I hand pick each one of them and carefully select the ones that I absolutely love. This is an awesome job as I always feel the anticipation of seeing the treasures I'm about to uncover!
Finding the perfect ring is a dirty job: I use plastic gloves and they end up disgustingly dirty!
Here you can see some of the rings I choose, already on my bench. As you see, they have a little 'tail', this is called sprue and it is the way through which the liquid metal was introduced to a mold. This means ring is unfinished and not ready to be worn.
Some sprues are easy to remove with cutting pliers but others need a bit of hand sawing.
And then what is left of the metal sprue needs to be removed with a file and emery paper, to make it smooth and nice.
To finish, I put them in the tumbler to clean and uncover some of their original shine!
I'll have some of these beauties for sale at Puces POP this weekend and on my Etsy shop by the end of the month.
Thanks for reading and I hope you enjoyed this post!
See you soon :)
Labels:
bench,
home studio,
Jewellery,
jewelry,
my bench,
my jewelry,
my shop,
photos,
process,
studio,
The Angry Weather,
vintage,
vintage jewelry
Wednesday, October 31, 2012
The Making of Two Very Special Rings
Hello there!
I hope you all are doing really great. Today I want to show you some process photos. I always have a hard time taking process photos as when I'm working, my hands are usually very disgusting with dust and nasty compounds and I feel terrible to touch my camera, and other times, I just simply forget because I'm just too busy making the jewelry!
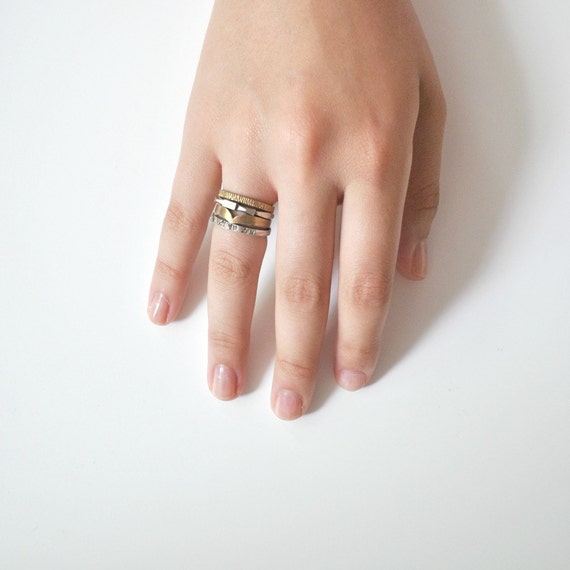
But today is very special because I wanted to document the making of my little brother and sister-in-law's wedding rings, which I feel so lucky to be making! To be honest, many of the steps to complete these rings are missing from the photos but I documented the most important of them!!
So here we go!
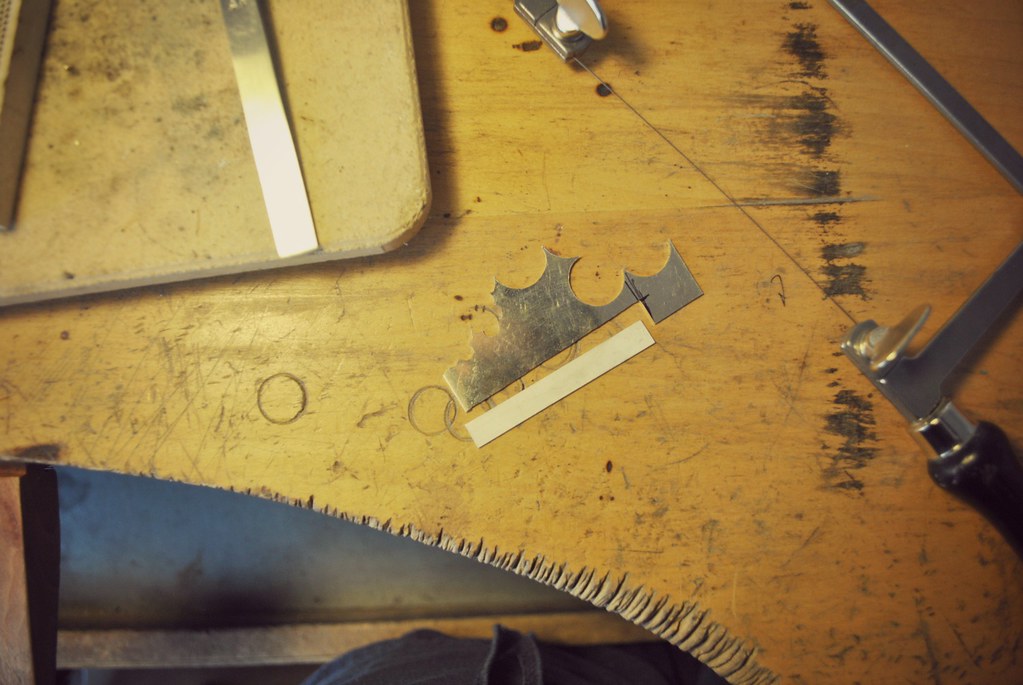
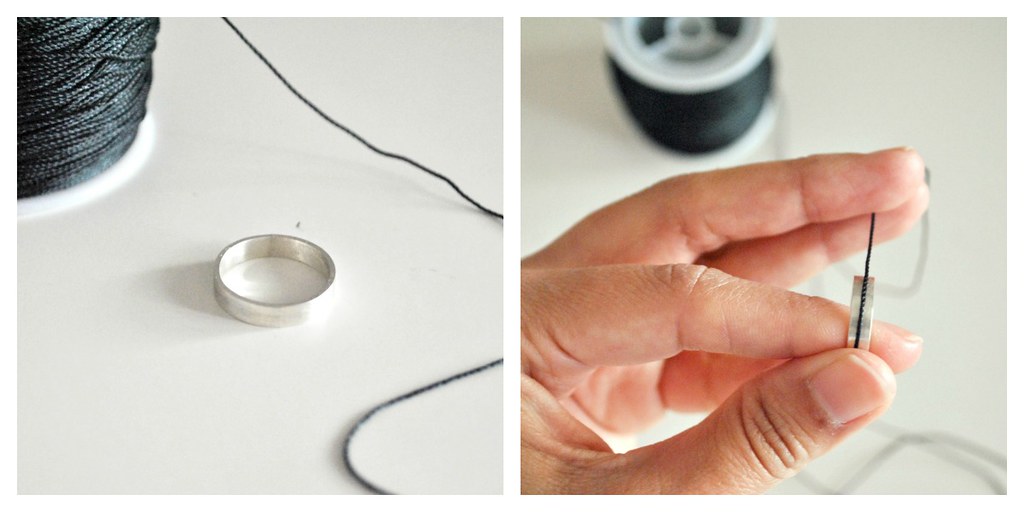
After minding some measures for size sake, I proceeded to cut the band using a hand saw. I used sterling silver sheet to make my model ring.
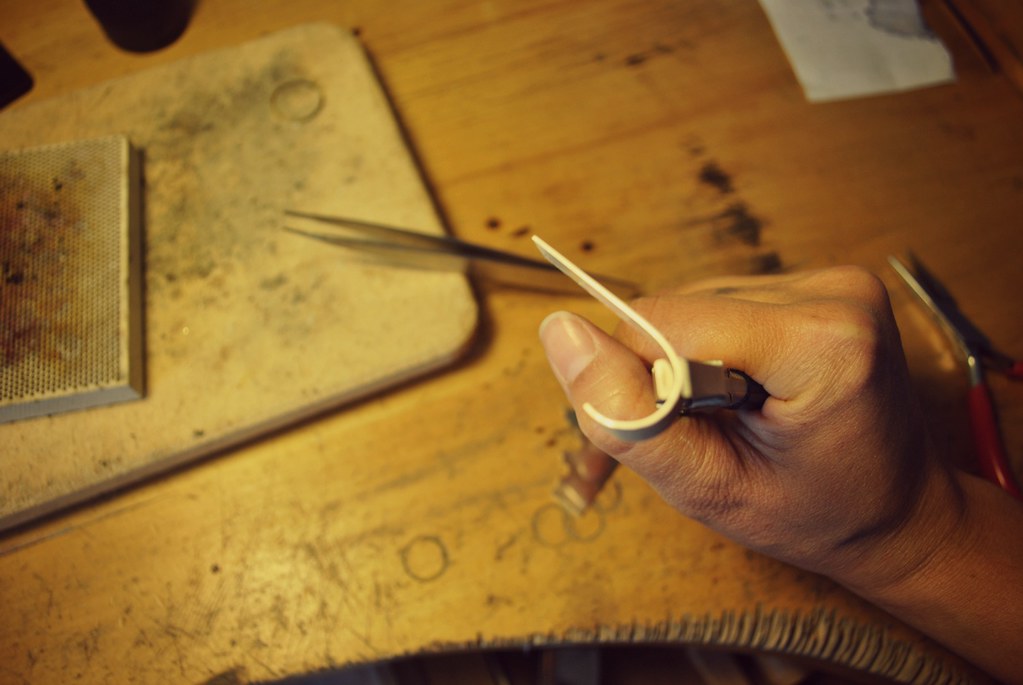
When the band is cut. I file off the irregularities of the piece of metal and then anneal it: this is a process in which I heat the metal with fire, then dip it in cold water and then gave it a warm acid bath to make it softer and malleable. Then it can be formed to make a ring using special pliers.
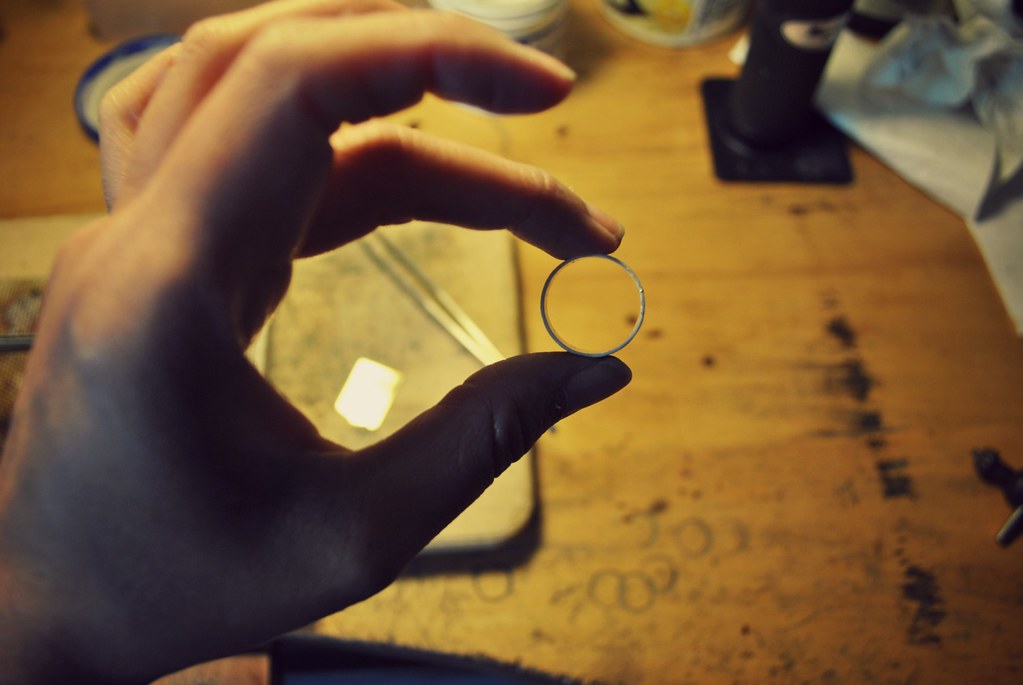
When the ends of the band can perfectly touch one another, I'm ready to solder! I skip the solder step because I was very concentrated soldering the ring, but here you can see the ring just after being solder and bathed in warm acid to get rid of the flux and dirtiness. Can you see those markings on the surface on the band? that's where the two ends are soldered together and when the piece is finished you won't be able to tell where the ends were soldered together!
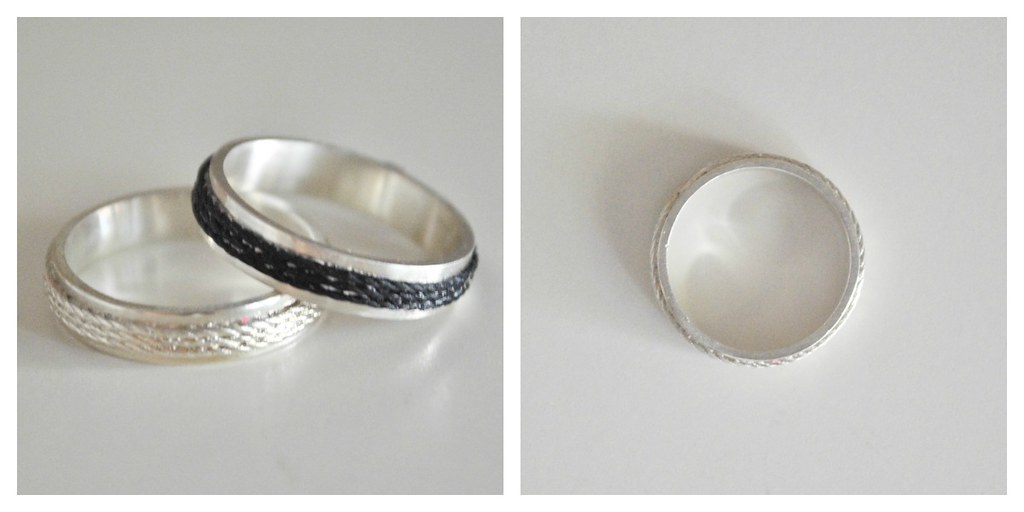
At this point the ring is out of shape.
We need to form it using a mandrel and a wooden hammer to make it round and pretty.
Ta dah! it's round. But really ugly still!
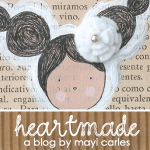
It needs some major sanding now: inside of it, on the edges and of course the outer surface.
When the ring is all sanded and neat, I proceeded to add the details and make it special: I wanted to add texture to the piece and at the same time wanted it look neat and clean, so I came out with the idea of using thread to add this texture. I wrapped the thread in the middle of the band. I also used thread because it kind of makes me think of the link that unites things, two people together: so let's say it represents love.
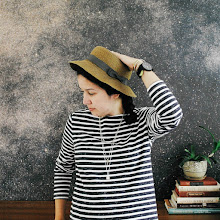
When the model piece in ready, I took it with a specialist to have a mold done and also a reproduction in silver, so I can see and correct any faults or details that I don't like before committing to gold! When the silver reproduction is made, it comes really rough and need lots of love to make it pretty.
Here you can see both pieces together: the original model with the black thread and my silver trial. Here I had sanded and mildly polished the silver piece to have an idea of how is going to look my final piece.
This is still the silver piece! I haven't finished the final rings and I'll show them to you after I give them to my brother and sister-in-law on their wedding day! But you now have a pretty good idea of how they'll look like :DI hope you enjoyed this little taste of what I do :) Thanks so much for reading it!
Iveth
Labels:
band,
handmade,
Jewellery,
jewelry,
my bench,
photos,
process,
rings,
studio,
The Angry Weather,
wedding ring,
work,
work space
Subscribe to:
Comments (Atom)


